Bulrush (aka Sausage plant, Reedmach, Typha, Cattail etc ) Meat Substitute

I decided to try to make a meat substitute out of the female Bulrush flower (the sausage part). The protein content isn't really high enough to be used as a main source of protein, however I thought that the the fibers of the female flowers might replicate the texture of meats.


I harvested the flower in mid July which is a bit late really. It's recommended that you gather them in Spring - very early Summer when the female flowers are green instead of brown. Nevertheless I wanted to see how suitable the brown flowers were for cooking.


 Ingredients: 

  • 2 eggs
  • 1 tsp black pepper
  • 1 tsp savoury seasoning 
  • 1/4 cup butter
  • 1 tbsp soft brown cooking sugar
  • 1 cup, but probably more, milk
  • 2 cups female bulrush flower (1 sausage)


Break the stem in half and begin pulling off the flowers. It helps to twist whilst pulling. As you can see there was still some green in the flowers, maybe don't use any that are less fresh than pictured.

About 2 cups collected from one shoot


Add the eggs, sugar, salt, pepper and seasoning to the flowers. Melt the butter and mix it in with the other ingredients. 

Mocha optional


After stirring slightly blend the mixture in a food processor or in this case smoothie maker. You might need to add a lot more milk depending on how powerful your blender is.


It looks a bit like what the Grinch might remove from his plug hole at this point.

 The mixture was put in a Pyrex dish and placed on the middle shelf of the oven for 30 mins at 200 degrees C.

Before
After
Did I eat it?? 

To be honest I didn't really want to for some reason. I just wanted to see what it would turn out like :3. I ended up trying it and was really really surprised how nice it was, it was really tasty and had an almost candy floss texture. It actually works pretty well as a meat substitute in terms of taste and texture. I probably should have added some MSG or something similar.


To make a vegan version you could substitute the butter for vegan butter, the milk for rice or almond milk and then maybe add less sugar. And the eggs for oil and baking powder, or potato starch or even banana!

Cast aluminium moon-face necklace (Or I decided I wanted a moon pendant at 2 o'clock in the morning and couldn't wait until tomorrow)

After seeing several amazing moon face necklaces online around 2 in the morning, I decided that I couldn't wait until tomorrow to buy one. I also didn't have all the materials needed to make one, so here's what happened:

The initial design was drawn on to a piece of oak approximately 2cm thick. I chose oak because of the close grain which allowed me to carve in some details. There are some better woods (or even waxes)  for this but the aim was to use scraps to make the pendant.

The design was cut out using a hacksaw, set of files and a Stanley knife. Once it had been sanded down I screwed a picture frame hook in to the top of the moon so that it could be suspended above the moulding tray.


 Plaster of Paris isn't necessarily recommended for casting metals! However as I mentioned before my aim was to do everything without buying anything new. It keeps a fairly good shape and is somewhat heat resistant and wont char much after a single use. The ratio of plaster of Paris to water is 2:1, I normally measure out how much powder I'm going to need by packing the moulding tray for measurement.
With fine jewellery casting using any modern methods, the liquid plaster mix is vibrated mechanically to remove any air bubbles to stop them appearing in the mould. Make sure you wait around an hour for the plaster to cool down and properly dry.


The scrap aluminium was heated in a mini crucible using  Mapp gas and a Worthington spiral flame gas torch. There are much more efficient ways of melting aluminium mainly using insulating materials to speed up the process/save gas. However I'm currently experimenting with different materials with thermal retention values before I  construct a sensible mini foundry. 

Whilst molten the impurities in the aluminium were ladled off the surface and the remaining metal was poured into the plaster mould.


The casting was cleaned up using files and a bench grinder and finally buffed using wire wool and a metal wire drill attachment. A small hold was drilled through the top of the crescent so that it can be attached onto a necklace. The face looks a bit scary so I might file his evil brow down a little. I was really limited with the aluminium as to how I could polish it up. I've ran out of silver/gold scrap and didn't fancy melting down my things at the time. I'll buy some scrap for next time though and will probably cast it using wax and the centripetal spinning method.


Professor Brothers Posters!

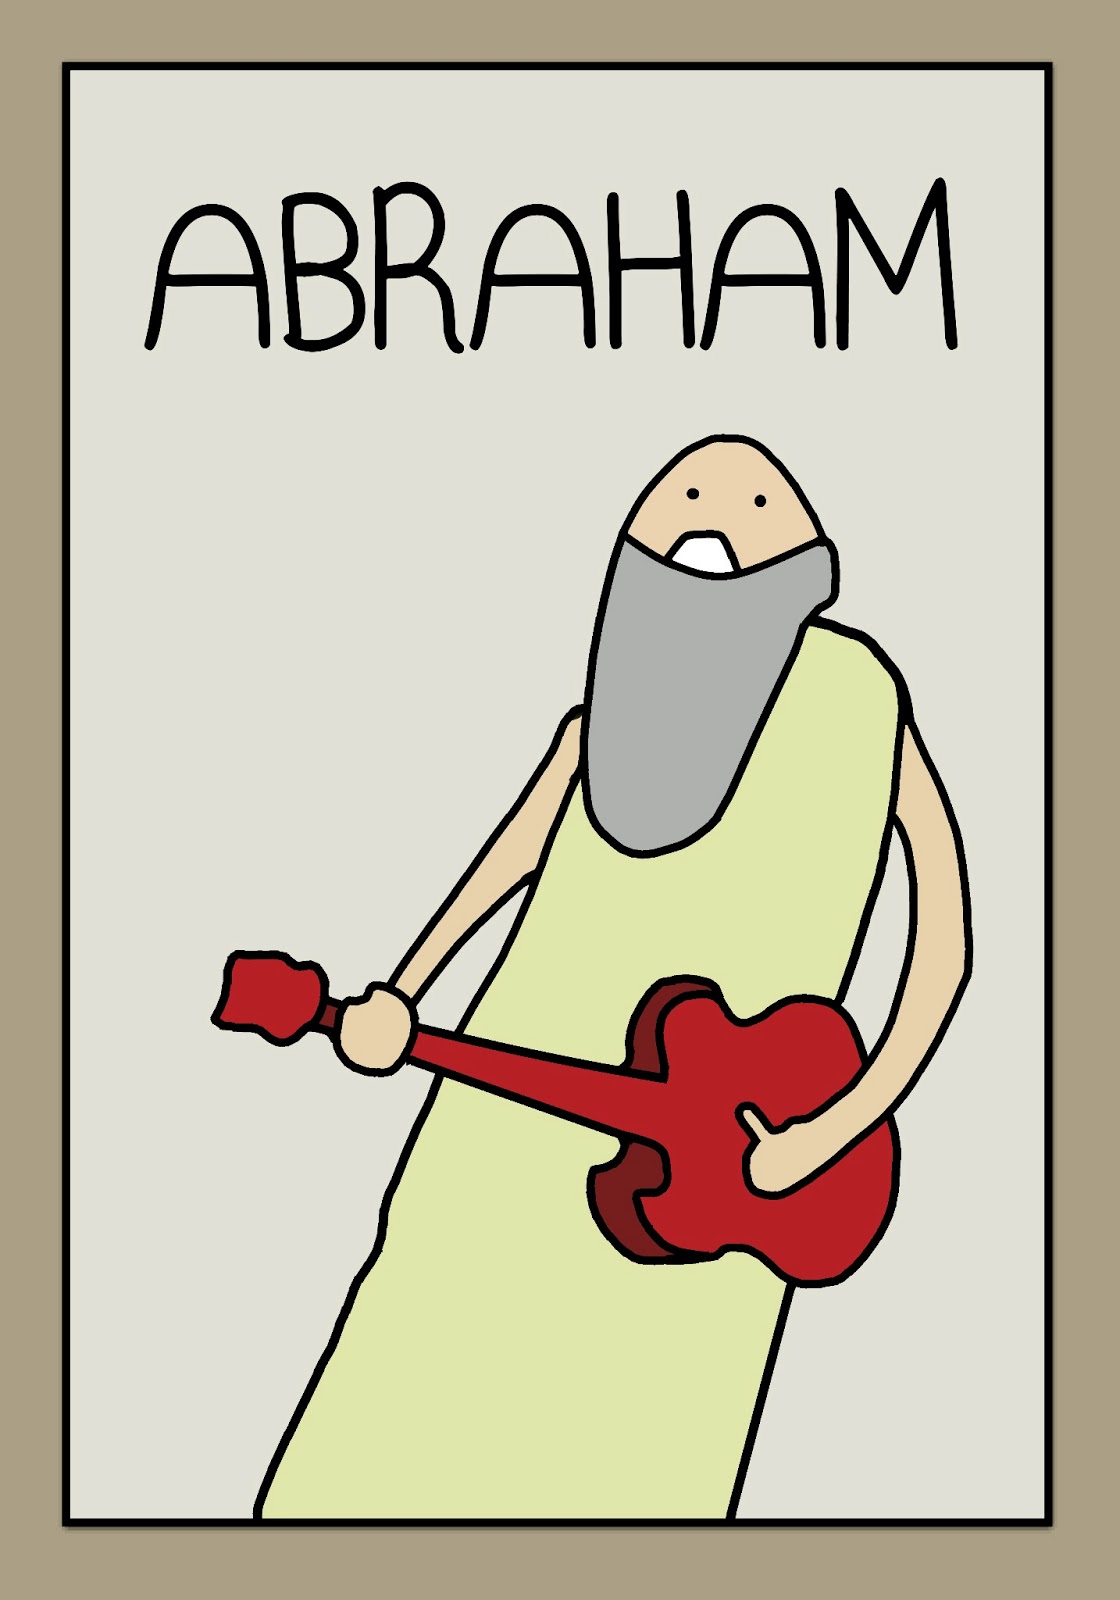
I made a couple of posters from the Professor Brothers series by Brad Neely!
All of the original screens are pretty low quality so a did a hi-res redraw. Both are from my favourite episode, Bible history #1: http://www.youtube.com/watch?v=bar3GOzDNzg


They print out well at A2 size.

Extending your WiFi signal with a Tenda W150M Wireless AP/Router

I never really intended to write any product reviews/tutorials but this device has just been so useful!
When I stay at my friend's house I can never seem to get any usable WiFi signal in their room despite having my laptop's decent N grade wireless card.
Personally, he used to use a Belkin usb dongle connected to a 5 metre usb extension cable! But this trailed everywhere.

After some searching I decided to buy a  Tenda W150M Wireless AP/Router for £10 on eBay.
Manufacturer website


I'll call it a router, but it actually has 5 operating modes:
  • Wireless access point 
  • Wireless router
  • WISP client router
  • Client + AP 
  • WDS
It has up to 150Mbs (N) Speeds, is powered by usb (5.0V 0.7A) and has an ethernet port for non-wireless access. It's so small and portable considering how many features it has.
I use the router in WISP mode and position it between my laptop and house's wireless router. In this mode it works by "repeating" the wireless signal it picks up from the house's router so that it can be accessed further from its range.


Step 1: Connect everything together and place in the right spot
Connect the mains usb power supply to the Tenda router and place it somewhere between the house router and your laptop or pc.

Step 2: Put the Tenda router into WISP mode
On the side of the Tenda router find the button that says 'mode'. Push it until the blue LED rests under 'WISP Router'.

Step 3: Access the Tenda router and set a static ip address
On your laptop/pc connect to the Tenda router as you would any other router. (If this step fails see alternative method at the end of the article) Right click on the connection (Note I changed the name of the router to "SKY22" it should be "Tenda as default") and select 'status':
Then click on 'internet protocol version 4' and then 'properties':

Give your laptop/pc a static(non-changing) ip address when connecting to the Tenda router by entering a ip address of the form 192.168.2.XXX in the 'IP address' field, where XXX is any number greater than 1 and less than 256.
Enter the subnet mask as bellow and set the default gateway (The machine connected to first, in this case the Tenda router's ip address) as below.
Also set the 'Prefered DNS server' to your house router's default ip address (This is usually 192.168.1.1)
and enter the following 'Alternate DNS server' ip.
The DNS server is the device which allocates ip addresses to wireless devices in the network. In this case we want to use the home router as the DNS server.

Step 3: Changing the Tenda router's settings
Once connected and having set a static ip, open a web browser and in the address bar type the default ip address of the Tenda router:
192.168.2.1
Then enter the username and password of the Tenda router, these are:
User: admin
Password: admin

Then commence the WISP setup wizard

Scan for your home router's network SSID, select it, enter its wireless password then click next
Select 'Dynamic IP' and click next
Make sure the channel number of the Tenda router is set to the same channel number as your home router. Change the SSID of the Tenda router if you wish and click next
Make sure the security mode for your Tenda router is set the the same type as your home router's. Enter a pass phrase for your Tenda router and click next.
NOTE: changing the pass phrase will require you to enter it during initial connection.
The Tenda router is now configured to reroute your home router's internet connection to your laptop/pc. Click apply to save the settings and reboot the Tenda router.

Issues
Now when you wirelessly connect to your Tenda router you should automatically receive your home router's internet connection. 

If this does not occur make sure the channel number of your home and Tenda routers are the same, make sure that you have correctly entered the wireless password of you home router in the specified box in the wizard.

At some point, if you are not able to connect to your Tenda router wirelessly to change its settings. If this is the case use the ethernet cable supplied and connect it directly to your laptop/pc and go to step 3.

The Tenda router can be used for many other things, I've also used it as a wireless dongle for other devices.
Additional specs:
CPU: Ralink RT3050F 
RAM: 16MB 
ROM: 2MB 

Hall thruster

One of my latest projects that I'm doing in parallel with others is designing and making a Hall thruster! This is probably one of the least theoretical projects that I've ever done! I have no idea really what inspired me to do this, I was just thinking of accelerating plasmas in discharge tubes when I thought it would be fun to build a small scale one.

A Hall thruster is a device which accelerates a plasma through a discharge chamber via an electric field. The accelerated ions meet with electrons that are rotated around the devices axis by means of a radial magnetic field and so the now neutral atoms pass out of the discharge chamber.


It may not be possible to miniaturise a Hall thruster due some physical restrictions, if this is the case I can try to construct a similar type of device, generic ion thruster etc. So far I've made a basic model using COMSOL Multiphysics and I'm just in the process of testing different materials.

Simulating magnetic fields
Very early design of thruster


I don't really want to use the thruster for anything, I may even just make a general plasma accelerator. I'd like to look into attaching a simple plasma discharge chamber to some capacitor bank and see what amounts of thrust can be produced.

Modelling two populations competing for a resource

I'm currently working on modelling two populations competing for a resource using a continuous approach rather than discrete. The system consists of three coupled non linear differential equations. One representing a resource and the other two, populations.

At the start I was unsure what approach I should use to model this system, I considered using a discrete method such as with cellular automata but it just didn't feel right. I had already worked on modelling reaction-diffusion systems with coupled differential equations and so I thought I would stick with my strength.

I found a number of books rather useful:


I coded the simulation of the system in FreeBaisc. The model itself is in 0 + 2 dimensions. I haven't analysed the 2D output screen capture yet although I have been analysing the phase portraits of specific spatial locations and also the stability analysis of the equations themselves. But in the interest of prettiness here is a picture of a 2D output (explanation to follow).


Pattern formation in hot chocolate


Found these patterns in my mug whilst working late one night :). Hope to model the pattern formation with fluid dynamics at some point.


Useful papers: